Saturday, July 30, 2011

Yard Sales Make Me Happy!

I LOVE LOVE LOVE a bargin and over the past year my husband and I have become frequent yard sales shoppers ... Today we struck YARD SALE GOLD!!!

I got this fantastic stand-up cabinent that swivels that I transformed into my craft cabinent! The lady that sold it said that she used it for her home schooling. She attached wire baskets on the sides. GENIUS!

The cabinent cost me ... wait for it... $25!!! WHOO HOO!!!


Now if only they had a few more for sale. I'm on a mission to have my husband make me more!

I also got a few candle stick holders that I have plans to turn into a cake stand, an amazing lamp, a chalk board, halloween lawn decorations and my husband got a Ryobi mitar saw for $20!

Total Spent...Less than $60! An amazing shopping day!


Sunday, July 24, 2011

It's Potty Time


We're a month out until Andrew's 2nd birthday, he has been hiding when he goes potty so I finally decided to start introducing potty training. A moment I've been dreading since I found out I was pregnant! 

Watching Toy Story from the Potty
I don't want to force him...that will make it just more frustrating for both of us. Over the past few days, we've strategically added several potty seats around the house. We've been spending a little time each day with Andrew not having to wear a diaper (Which he absolutely LOVES!...my little nature boy!)

Today, we let him pick out some big boy underwear. Which was very interesting. Picture this... Brian, Drew and I standing in the underwear aisle at Walmart with Drew screaming, "Put them Back! I don't like them!" Not the most positive way to start this whole potty training business. We finally convinced him that he would match Daddy so he picked out the generic Fruit of the Loom pants and we were off.


I am not above bribery!
 I introduced Andrew to the Potty Jar and he helped me fill it with candy. After explaining that if he wore underwear and went potty in his chair he would get to eat them, he decided to put the new additions on. After about 20 minutes of strutting around like and Abercrombie model and when I turned away for 2 minutes he did go potty!!! Half on my carpet..half in the potty...all with the underwear still on. We celebrated anyways! If a drop goes in the toilet I'll take the victory.

So Day 1 of the Potty Training...I'll consider a success. At least he knows what underwear and a potty is!

Tip Junkie handmade projects

Tuesday, July 19, 2011

Super Simple Wreaths

Hello! I'm officially on vacation and after a roadtrip with family, I was in desparate need of craft time. My new obsession this week...  making wreaths! I've done a few before but found some great materials at the dollar store (My fav!) If only I was planning a Cars or Spongebob party I would be in business...

My first wreath...


Total Cost: $3.00
Time to Make: Approximately 30 minutes.
Materials:
  • Foam Wreath ($1.00)
  • Ribbon: One Spool from the Dollar Bin ($1.00)
  • Polka Dot Bow (50 Cents)
  • Buttons and Hanging Ribbon (From my Collection)

My Second Creation:
Total Cost: $4.00
Time to Make: Approximately 10 minutes.
Materials:
  • Wooden Wreath ($1.00)
  • Polka Dot Bows ($3.00)
  • Ribbon & Cricut DieCut(From my Collection)


My Third Creation....


Total Cost: $1.50
Time to Make: 1 hour 

Materials:
  • Wreath($1.00)
  • Fabric : Left Over from My Pennants
  • Polka Dot Bow (50 Cents)
  • Buttons and Hanging Ribbon (From my Collection)


Brian and Me... Enjoying our vacation!!!


Tickled Pink at 504 Main


Sunday, July 10, 2011

Love My No Sew Pennant Banners

Oh I how I love pennant banners... I found that they were so simple to make and I could make them without breaking out the sewing machine or the bank so I was in! I started by wanting to make some homemade banner's for Drew's birthday that wouldn't require sewing skills that I don't have and could be reused.  

When I visited the fabric store, they were having a half-off sale so the fabric was very inexpensive. I also found that the remnant pieces they sale will be perfect for this project and are usually sold at a discount. 

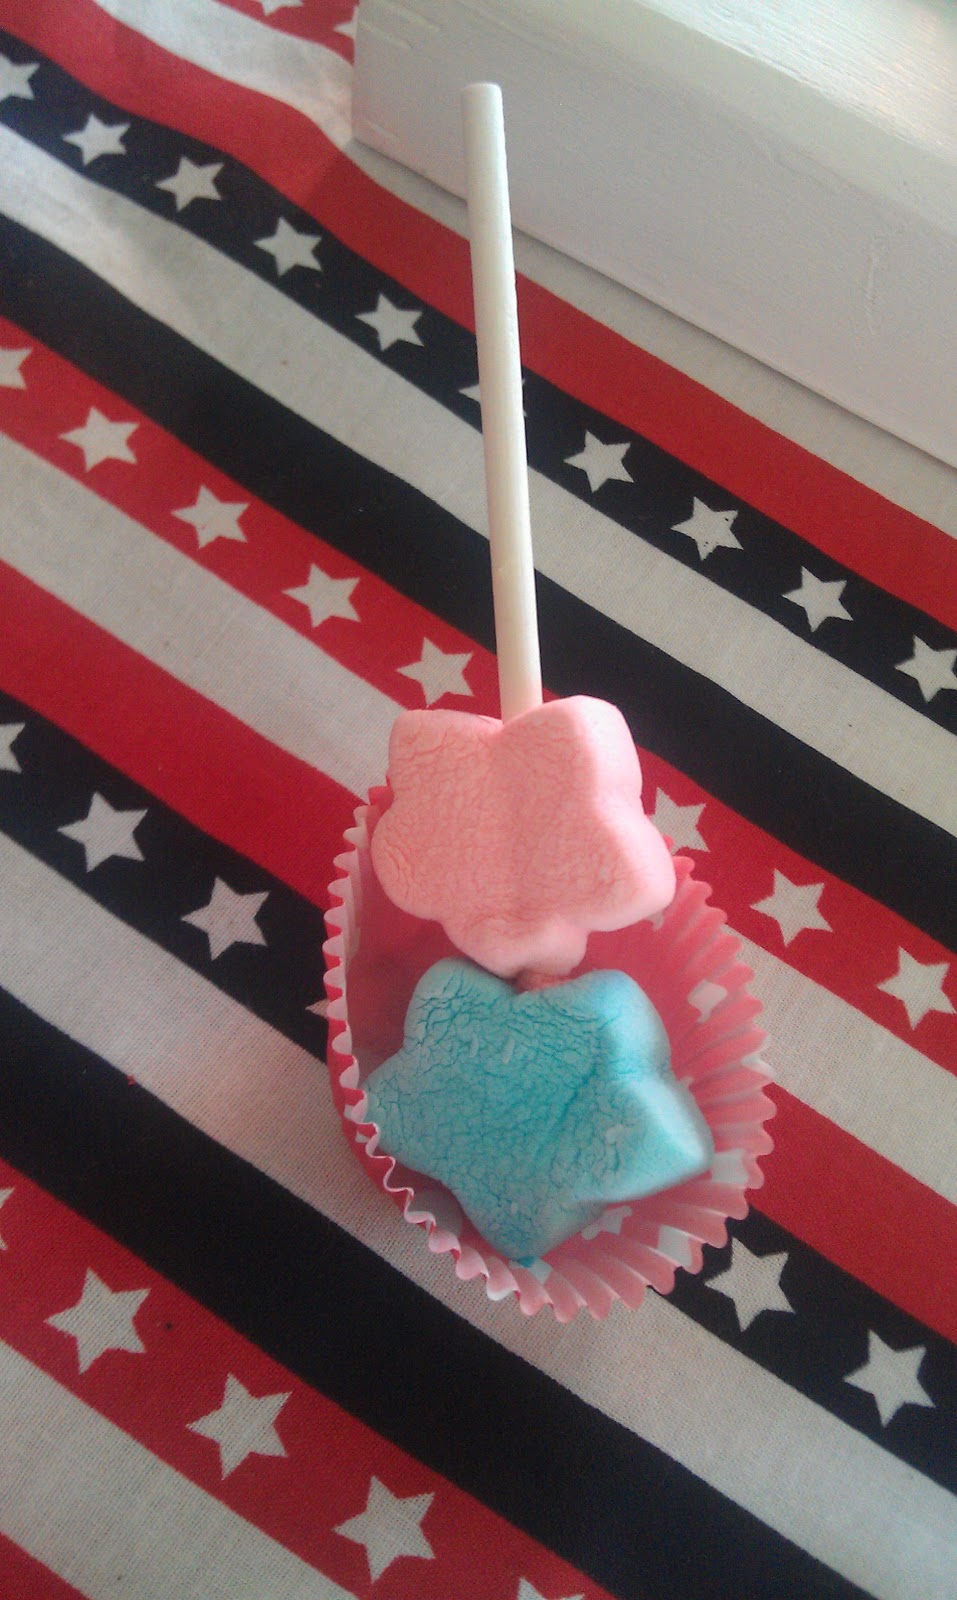
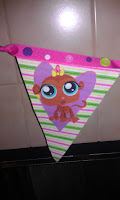
Already I've made a pennant banner for the 4th of July, one for my son's birthday party and now with my niece's birthday next week I created a Littlest Pet Shop banner.


  Total Time Per Banner... Approximately two Spongebob episodes or 30 minutes, but you can definitely split the project up into multiple projects. 
To start: Get approximately 1 yard of total fabric. 
(I got approximately 1/4 yard of each color)

Step 1: Create a cardboard template. You can also purchase a template at the craftstore, but the one I saw was over $20...so I made my own.  

Step 2: Using the template, trace out the pennants onto the backside of fabric. If the fabric is not double-sided, you will need to create a mirror sided fabric. With both sides, back-side up, spray with fabric adhesive. and stick together. 
Easy-Peasy! 

Step 3: Using a hot glue gun, attach the ribbon to the top of the banner. After each pennant, I tied a knot for extra decoration. I added some buttons for extra detail on one banner, although decorative ribbon is just as cute.


For the Littlest Pet Shop, the fabric I found wasn't exactly symmetrical enough to fit the pennant shape, so I just cut out the individual images and attached them to some other fabric.


So fun and so festive! I love it!   

Tuesday, July 5, 2011

Happy Fourth of July

I had so much fun with celebrating Fourth of July with my family... but as soon as the fireworks were finished, I promptly climbed into bed! 


The day started with a Fourth of July breakfast celebration. My in-laws weren't going to be able to join us for our annual Fourth of July BBQ with my side of the family, so I did a last minute Fourth of July breakfast celebration.   The night before I decorated our breakfast area with some quick circle garland, which I was able to put the banner together while finishing up some last minute items for work. (Hey...I needed to enjoy the holiday off!). I made the fabric pendant banner (No Sew!) the day earlier. My table cloth... was a left-over piece of fabric that I had purchased for my fabric banner... love it! Some festive plates I picked up at the dollar store and my traditional patriotic leis which have become a family tradition in my home finished off the look. 


Fourth of July was the first holiday my husband I first celebrated together when we were dating and I made him wear one of these throughout the day. Despite his greatest efforts to get rid of them, I always find a new supply of patriotic leis to make sure he remembers! :) 


With work so busy the past few months, I had to dust off my favorite breakfast accessory... my belgian waffle maker. LOVE! Our breakfast consisted of eggs and fresh berry waffles and whipped cream...yummy!! I set each place setting with a goodie bag to help start the day. While it made my table awfully cute, not sure convincing a toddler to eat waffles and eggs with candy staring at him was such a good idea... but it was a holiday and I brushed his teeth a lot. After breakfast we had a little play time before naptime for Drew and getting ready for the annual Fourth of July party began. My aunt always throws the best celebration and this one was no different.


 She had a country fair theme so I made some country style goodie bags of course. I was able to find these great felt sticker stars which were great on a standard clothesline. I loved them so much I picked them up in both the bright red, white, and blue and a more subdued tone as well. I was able to use them for the bag toppers, a shirt I wore and made a few bows for my nieces and myself.


Simple?...Check! 
Adorable? ... Double Check! 


      I also made the standard bag topper with some great country style paper. The poppers, ring pops (Let Freedom Ring!) and patriotic lollipops were all found at the dollar store. 


Our contribution to the pot luck...fruit salad and fruit skewers for the kiddies. I knew that battling with candy was going to be a challenge so my husband I used a star shape to cut out stars from all the fruit. I'm happy to report that all 40 skewers were gone by the end of the day!  When it looks this fun...who could say no.  


But I couldn't just bring fruit... so here are some fun treats I whipped up while Drew was napping...but before you get too impressed they are "semi homemade" by that, I mean I bought the marshmallows and put them on a stick! I did dip half in melted white chocolate because chocolate always makes everything better. :) 


Our day ended with a firework show viewing in our backyard. I'm not sure about you but our area doesn't allow fireworks. We were able to watch a few great firework shows from surrounding areas from our backyard though! So after a fun filled day of swimming and eating, I put together a few last minute items, for the firework finale. Some cake pops and pinwheels made the show so much better. 


We had such a fun day... Can't wait for vacation time 9 days and counting...

Happy   of July!!

I'm partying with ...

Tip Junkie handmade projectsPhotobucketPhotobucket